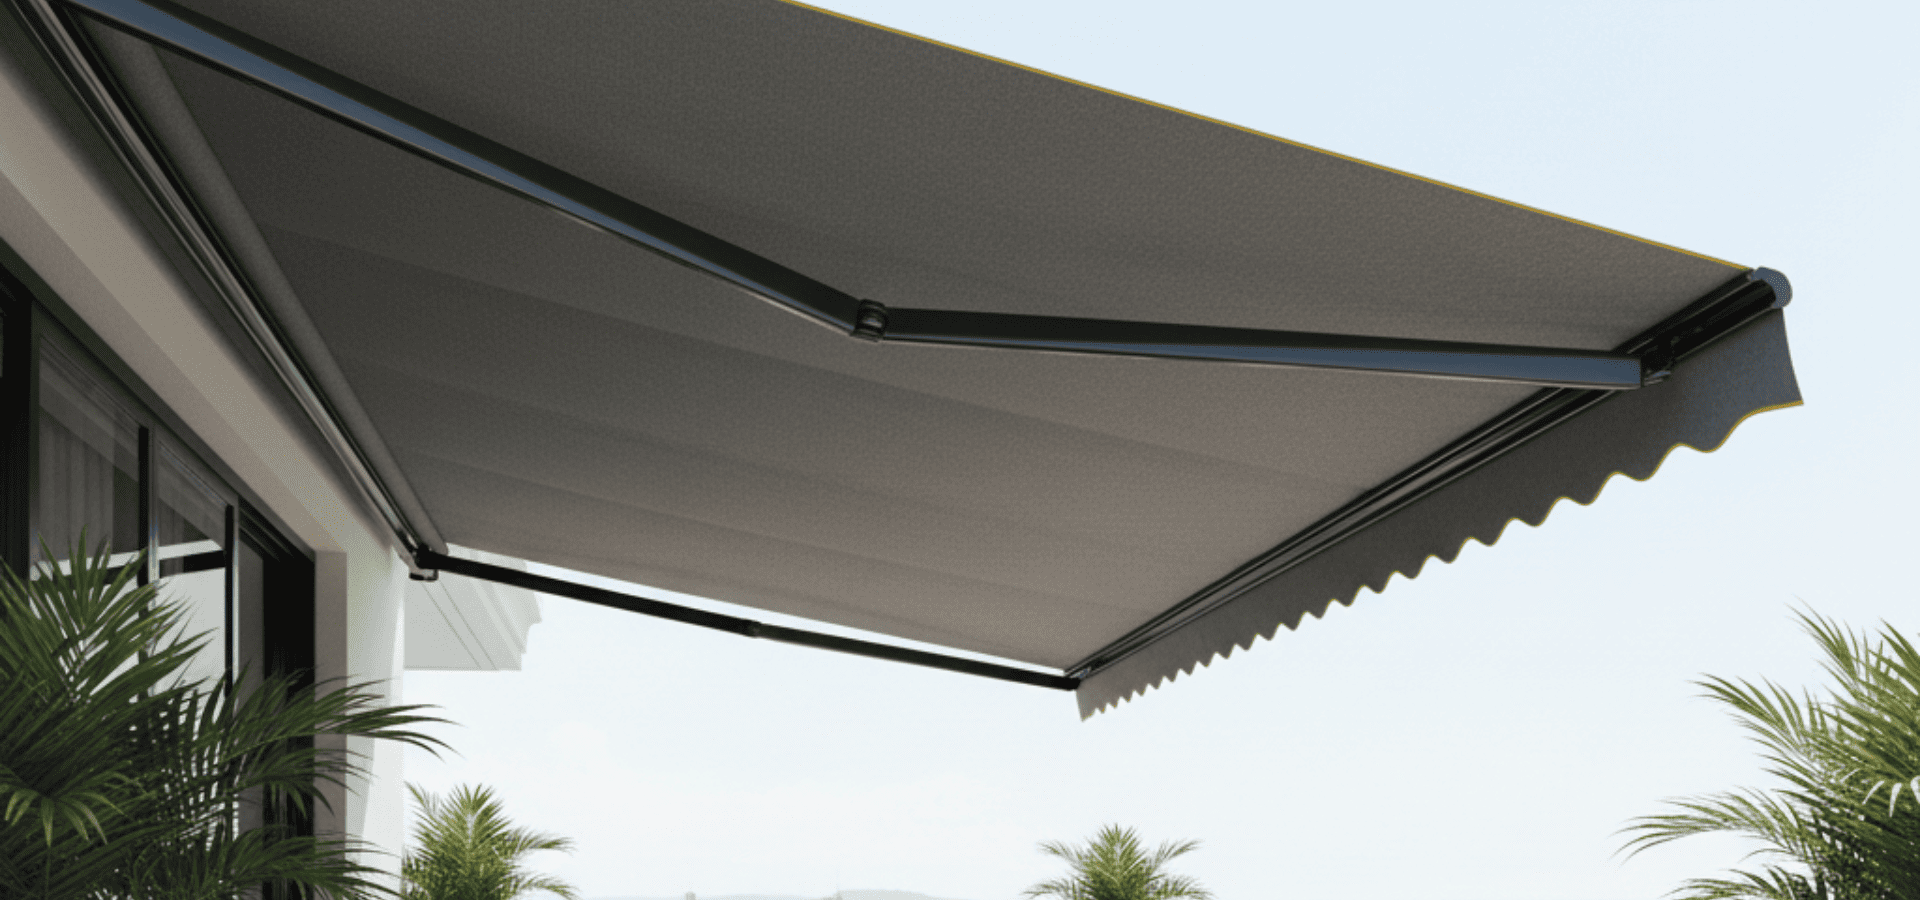
There’s a particular moment in every Singaporean afternoon when the sunlight stops playing nice. It’s no longer “warm and golden”. Instead, it’s full throttle. The kind of heat that doesn’t just warm a patio but dares you to use it. And if you’ve invested in an outdoor space that’s meant to be lived in — not just gazed at through glass sliding doors — you’ll know that shade isn’t a convenience. It’s survival. But let’s not mistake basic shelter for sophistication. You’re not here to sling some discount canvas over your terrace and call it done. You’re here because you care about design, about durability, and about solutions that feel as good as they look. You’re here for luxury. And not the performative kind — the thoughtful, quiet, actually-works-for-you kind. So, what does luxury look like in the world of awnings? Not in catalogue-speak. In real-world, weather-tested, daily-use terms? Let’s stretch this out. It’s Not Just Shade. It’s Infrastructure. Here’s the thing most people miss: a luxury awning isn’t just a fancy sunshade. It’s an architectural element. It shapes how you live in your space. It’s not just about where the light lands, but where you eat, relax, and gather. Done well, it expands your home’s footprint in a way that feels natural. Done poorly, it sticks out like an afterthought while tanking the usability of your outdoor space. In Singapore, where the weather is a full-time participant in your day, that usability matters more than ever. That’s why a “luxury” awning isn’t about gimmicks… A luxury awning is about fit. Form. Function. Fabric that holds its own under equatorial UV. Motors that retract silently and don’t throw tantrums after a monsoon. Mountings that still look sharp in year ten, not just month three. You’re not just buying a product when you buy a luxury awning. You’re investing in how your space feels and flows, now and into the future. Why Going Premium Makes Sense Here (Even If You’re Not A “Luxury” Buyer)
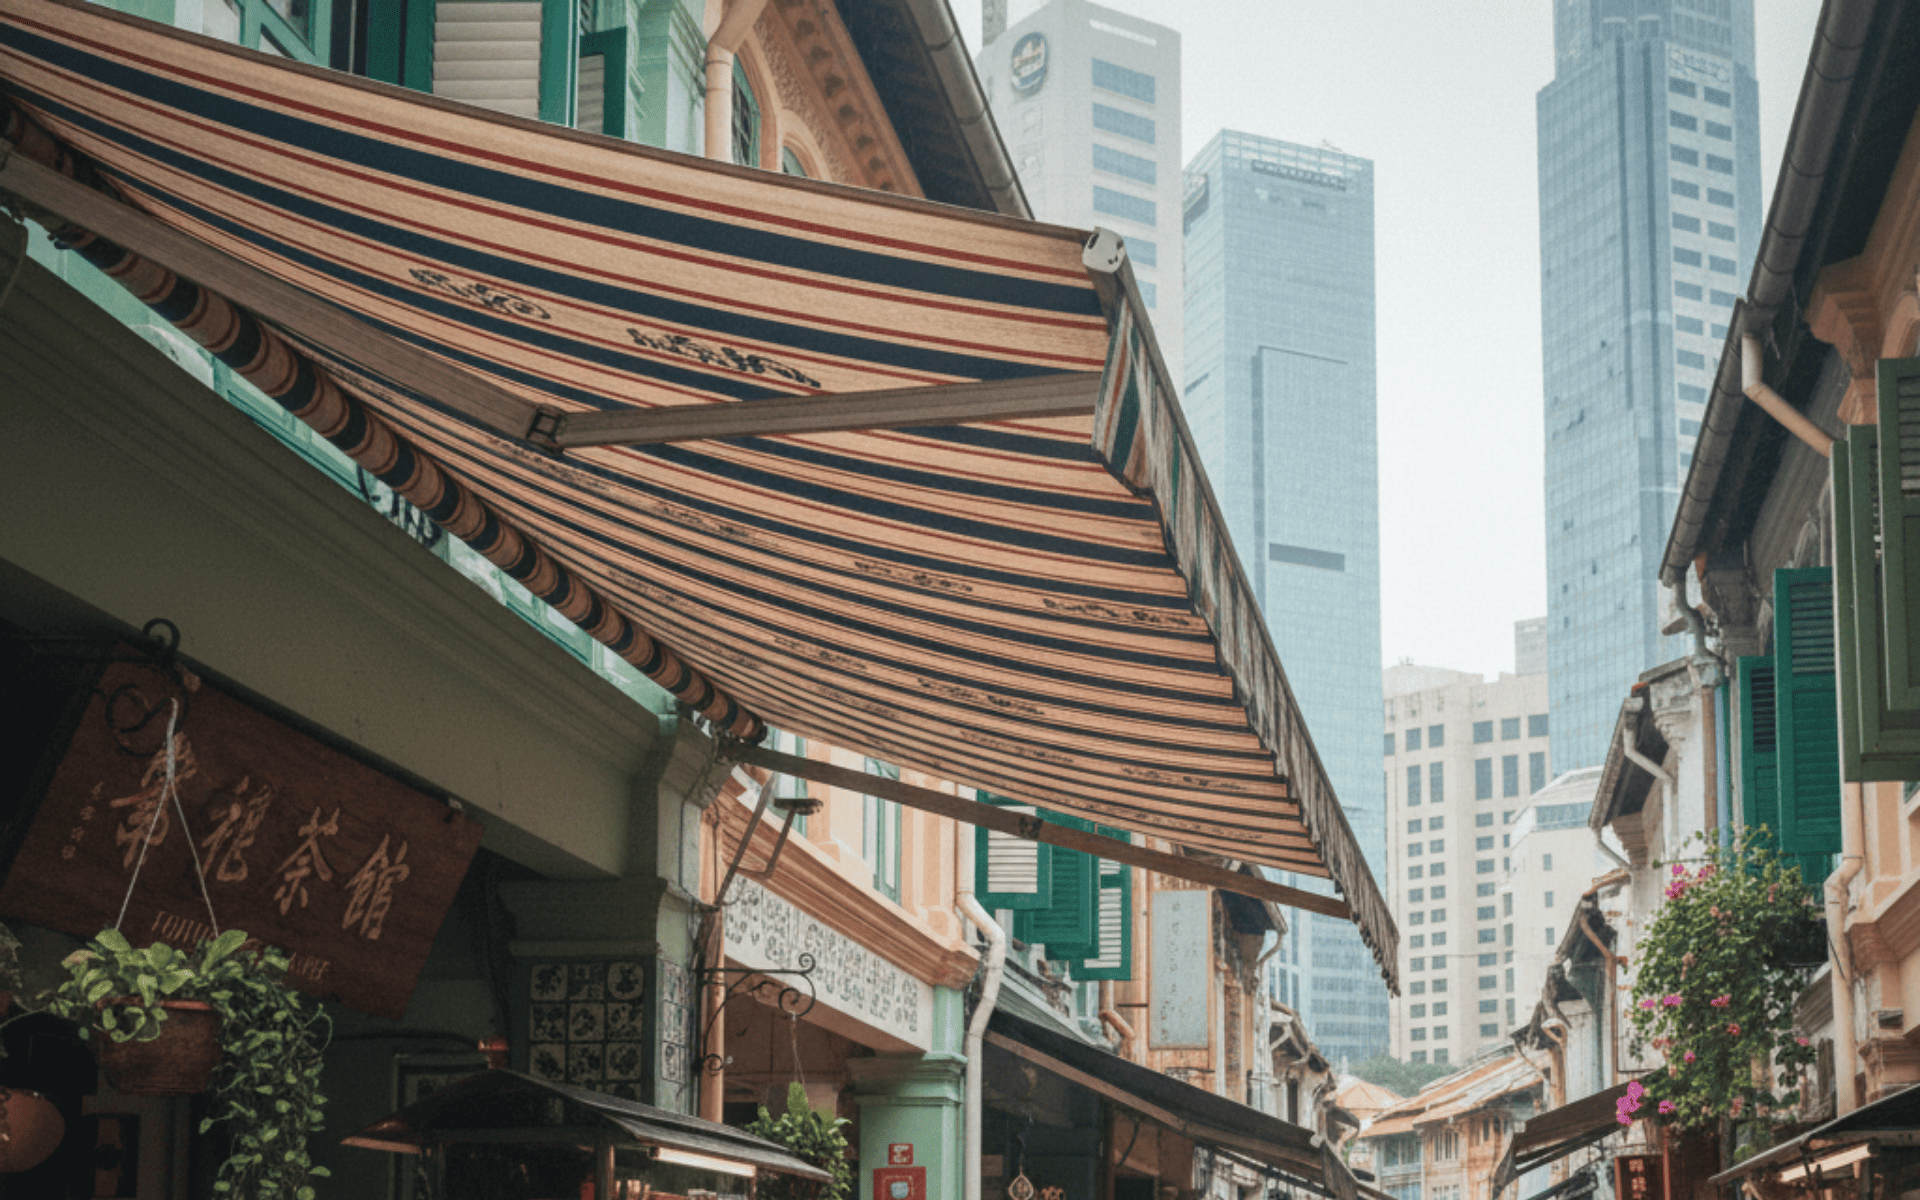
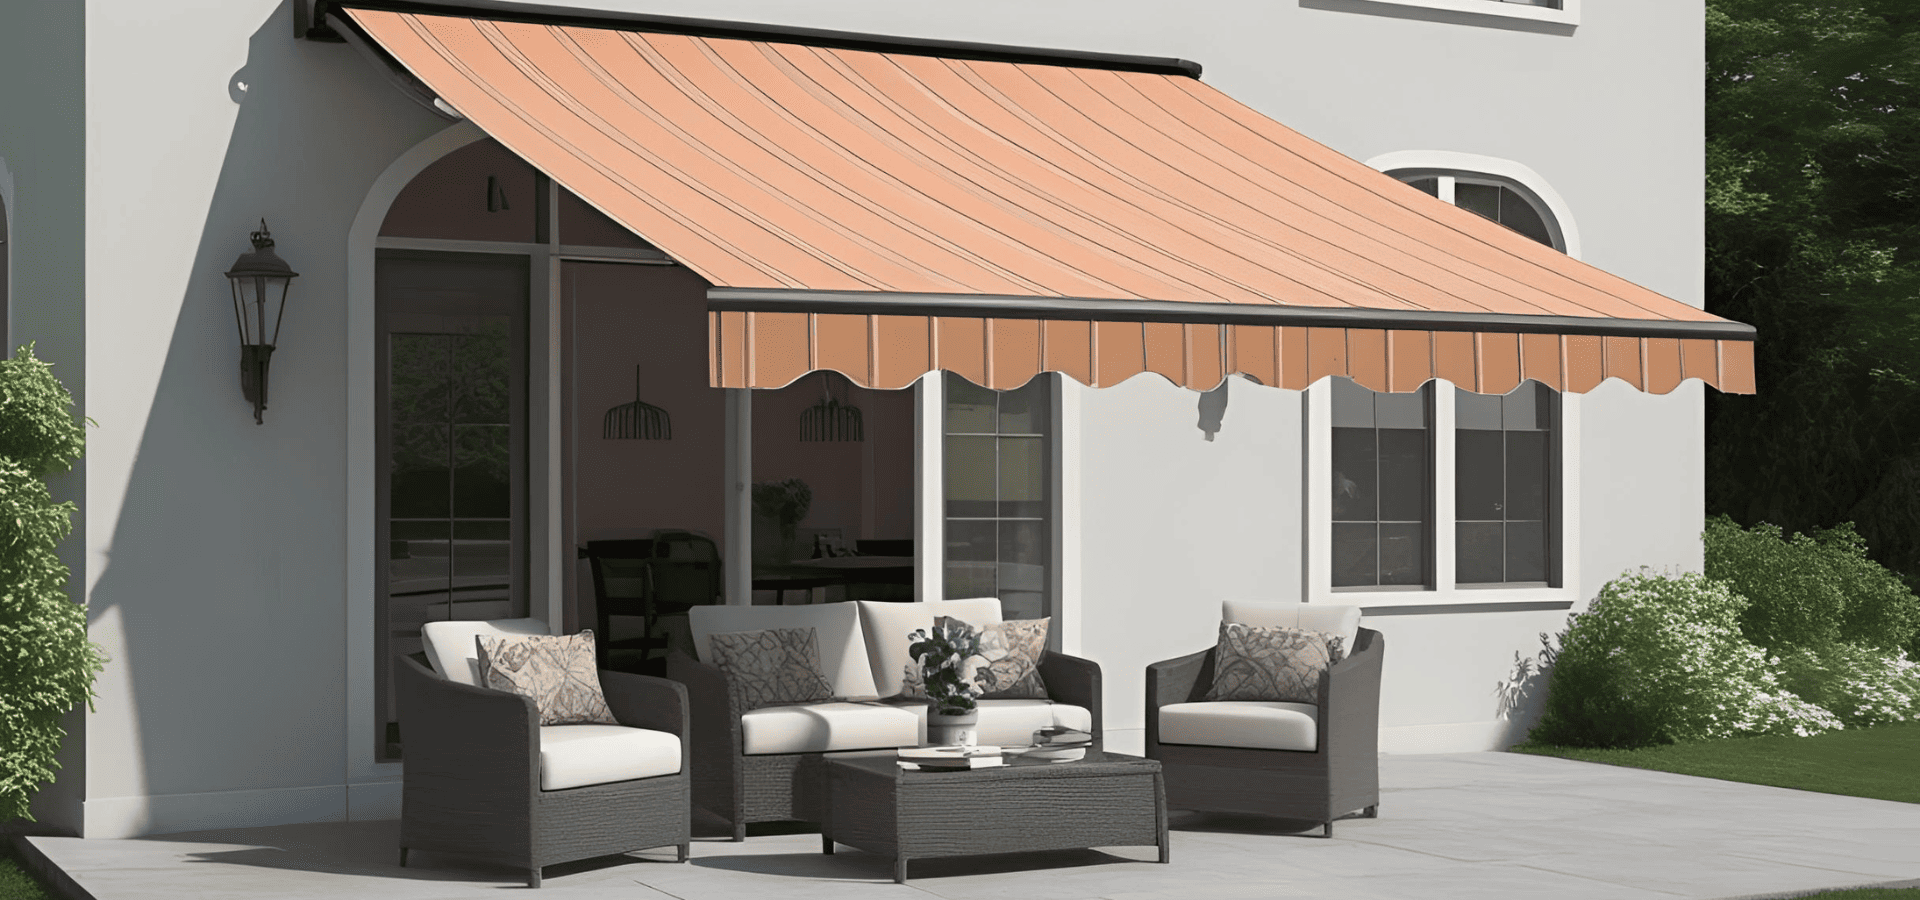
There’s something quietly transformative about an awning . One moment you’ve got an exposed patio or a shopfront baking in the Singaporean sun; the next, with a simple extension of fabric and frame, you’ve created a shaded retreat that feels worlds cooler. It might not be a new invention… But it is a redefined modern moment, all thanks to the humble awning’s mix of style, comfort, and energy-saving smarts. Still, for all their familiarity, a surprising number of people aren’t quite sure what counts as an “awning.” Is it just a canvas sheet? A fancy pergola? Something that only belongs above café terraces in Europe? In reality, awnings are a category of shade structure with a long history and an impressive amount of variation. They’re also particularly relevant in Singapore, where tropical sun and sudden downpours make adaptable shelter more a necessity than a luxury item. So let’s strip it back. What exactly is an awning, what options are out there, and why do people seem to love them so much? The Core Idea At its simplest, an awning is a secondary covering attached to the exterior wall of a building. Its purpose is straightforward… Provide shade and weather protection. That’s it. Most awnings stretch out horizontally, projecting over windows, doors, patios, or storefronts. They can be fixed in place, manually extended, or fully motorised with sensors and remote controls. The big difference between an awning and, say, a roof extension is mobility and scale. Awnings are generally lighter, designed for flexible use, and not meant to replace your actual roof. They’re an accessory, but one with teeth — easily capable of changing how a space feels and functions almost instantly. Awnings In Everyday Life