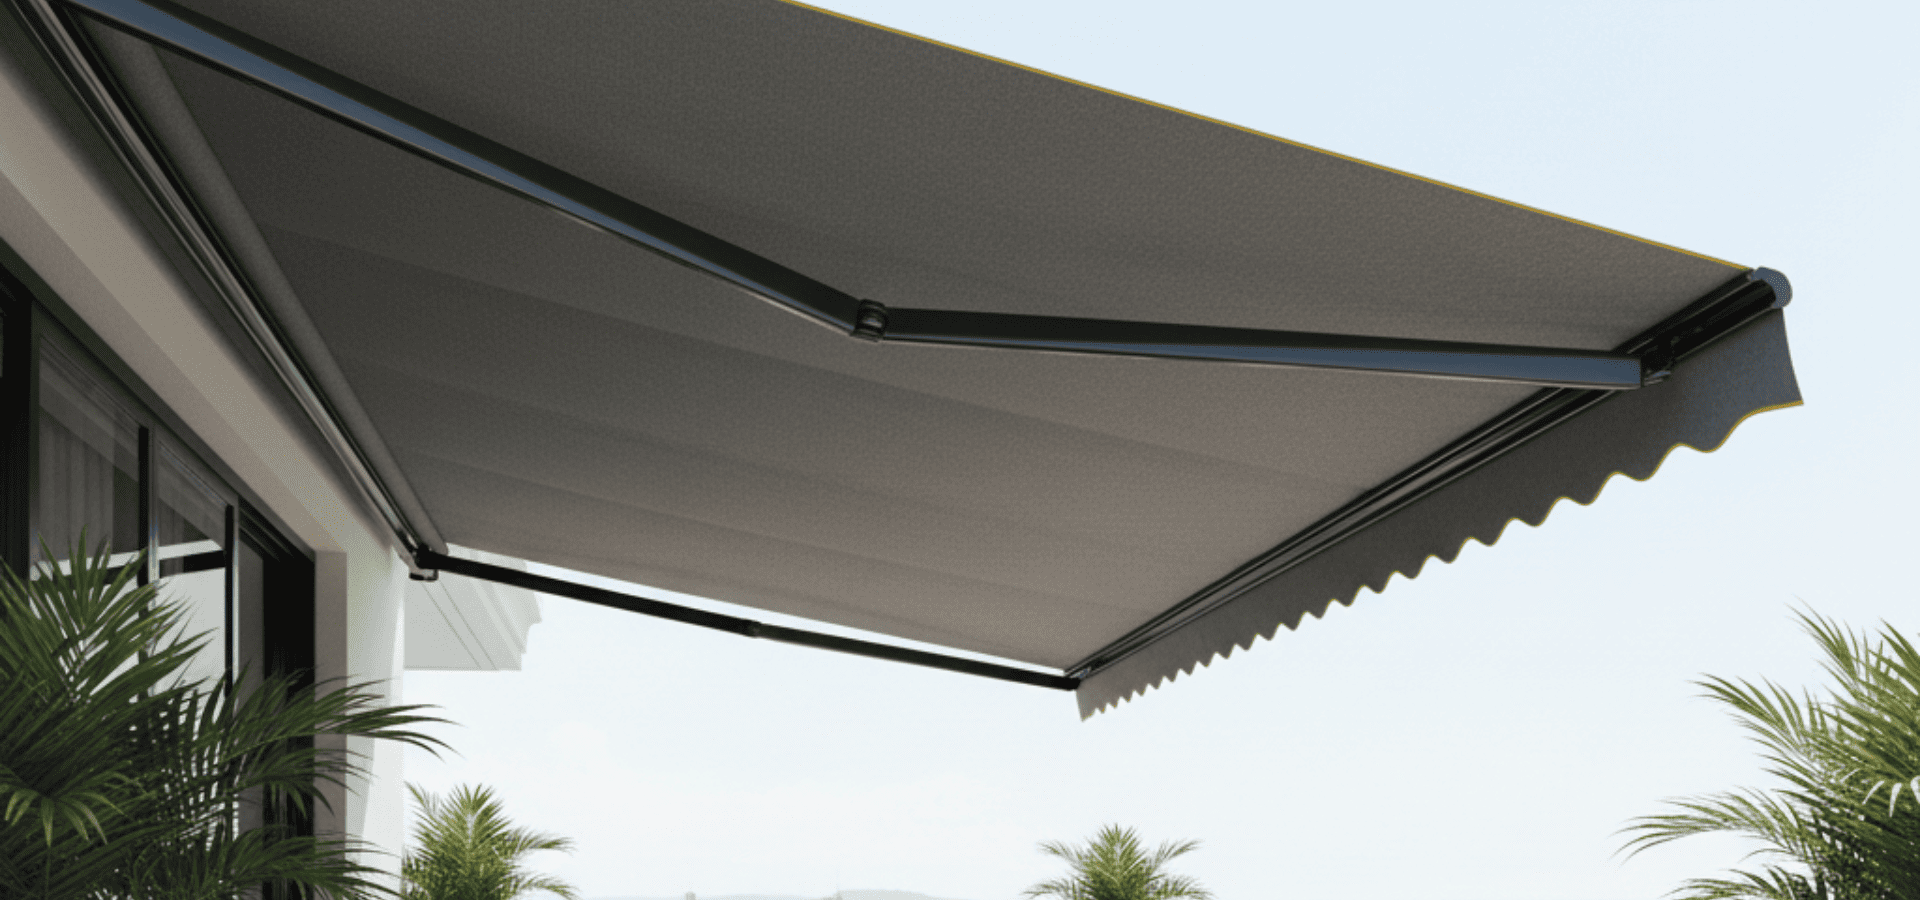
Complete Guide To Waterproofing Your Awning
Your awning protects you, come rain or shine, but what protects your awning?
Your awning stands alone against the relentless sun and heavy storms, keeping you sheltered come what may, so… don’t you feel a little guilty not doing anything for it?
Jokes aside, in order for your awning to do its job, you need to equip it with the necessary tools, and in this case, that means waterproof coating.
But first, let’s clear up a common misconception.
Many people actually believe that all fabric awnings are waterproof, because they don’t see water seeping through during rain. But in reality, many fabric awnings are merely water-resistant, not waterproof.
The reason why rain doesn’t seep through is because of the water-resistant coating that repels rain. As long as it’s sloped and allows water to keep flowing off, this water-resistant coating is usually enough for water to not penetrate the water-resistant fabric.
The problem is, during extended periods of heavy rain, water will slowly start to get past the water-resistant coating. It’s not waterproof, only water-resistant, so given enough rain, water will get through this coating and the fabric will absorb this moisture, or even start dripping water.
People just don’t realise this happens because long, extended periods of heavy rain are rare in Singapore, and when they do come, most people will eventually head indoors. Seldom do people stay outdoors long enough that they start to see water seeping through, and many homeowners also retract their awning during storms.
But even if you don’t need your awning to be completely waterproof to shelter you, it’s still a good idea to waterproof it.
If not, each time it rains, water will work its way into your fabric awning, causing your fabric to stretch and shrink with these moisture level changes. This wears out your awning quicker over time, and also increases the likelihood of mould and mildew forming.
That’s why waterproofing isn’t just essential for shelter against the rain — it’s a vital step to preserve the longevity of your fabric awning.
But wait! Before you begin waterproofing your awning, you need to make sure that your awning actually needs that waterproofing.
What we mean by this is that certain fabrics are already waterproof, so don’t do double work and apply another layer of waterproofing.
To ensure you know whether or not you need to waterproof your fabric awning, we’ll be starting with a section breaking down which awning materials need waterproofing, and which ones don’t.
Let’s begin!
Which Fabric Awning Materials Need Waterproofing?
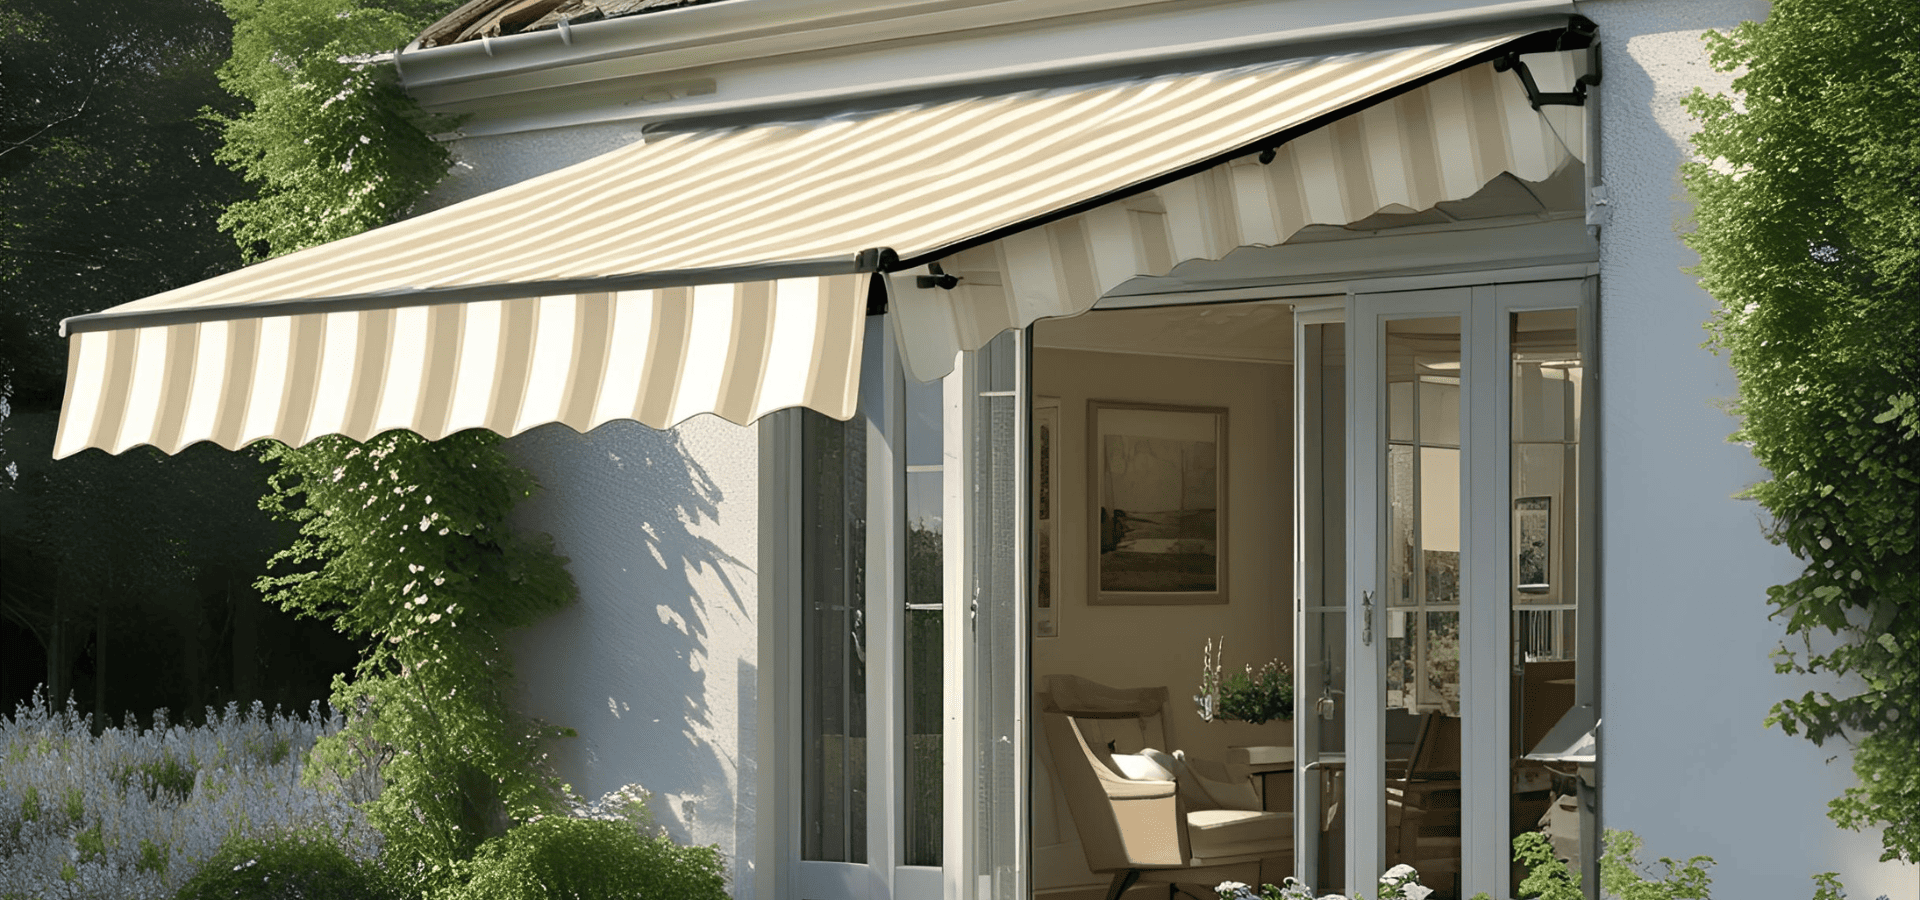
If your fabric awning is either vinyl, PVC, or laminated polyester, it’ll already be waterproof, as those are non-permeable materials that don’t allow water to pass through.
However, it’s also important to note that these materials are heavier than non-waterproof materials, which means you’ll need stronger supporting structures.
This extra weight is due to their additional built-in waterproof layer, which is permanently fused into the fabric during manufacturing.
If your fabric is canvas, acrylic, or non-coated polyester, then they’re only water-resistant, not waterproof, so you’ll need to waterproof them. Here’s how.
How To Waterproof Your Awning: Step-By-Step
First things first, waterproofing is going to take a few hours after factoring in the drying time, and during this time, you need rain-free weather.
So before you begin, check the weather forecast to ensure that you should have dry weather for the next few hours.
The weather forecast won't be 100% accurate, but it's the best indicator you have.
Of course, even if the weather forecast says it isn't going to rain, if the sky looks dark, postpone your waterproofing to another day.
Step 1: Clean The Awning Thoroughly
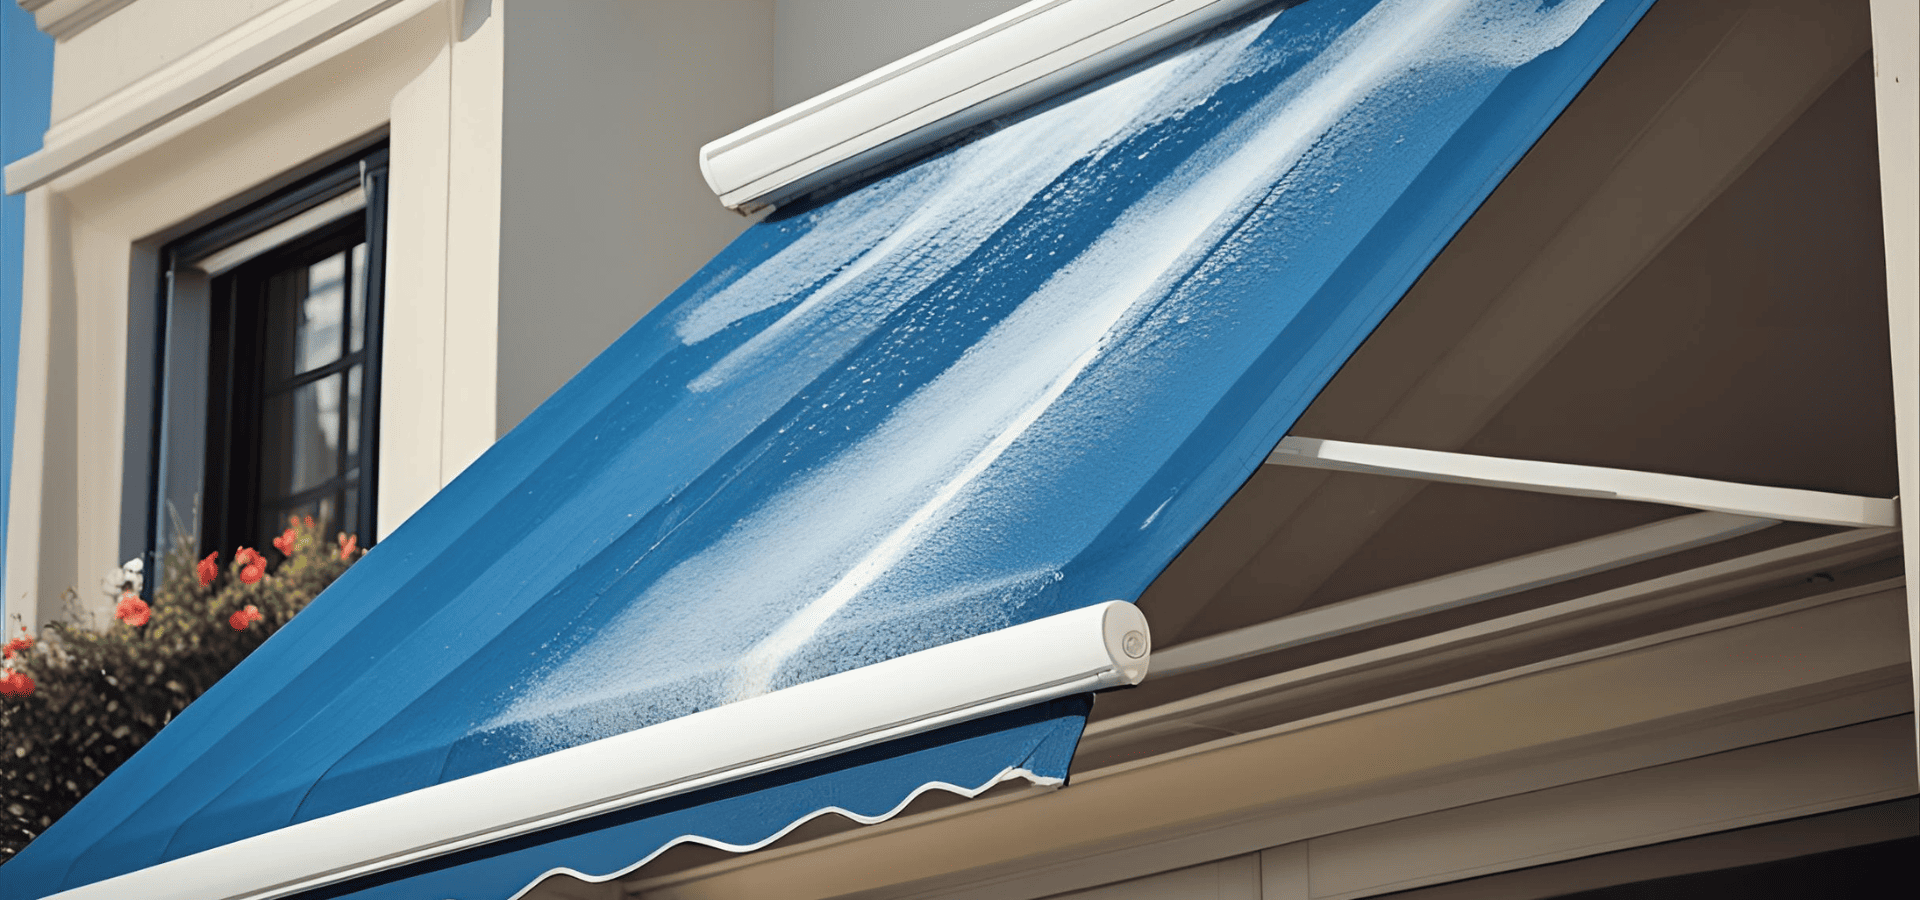
If your awning is dusty, greasy, or covered in mildew or pollen, the waterproofing solution just isn't going to be able to adhere properly. It's going to sit on top of the grime instead of soaking into the fabric’s fibers like it should.
Furthermore, even if it does manage to stay on, you'll end up trapping the dirt, stains, and mildew inside, which can over time cause discolouration or even fabric damage.
That's why the first step is to clean the awning with a mild detergent solution of 4:1 water-to-detergent ratio.
Using this solution, scrub your awning with a soft brush or sponge to clean off stains and dirt.
After that, if there's mildew anywhere, you'll also need to follow it up with a 10:1 water-to-bleach solution to clean off the mildew.
Apply the solution, let it sit for 10-15 minutes, then scrub again to remove the mildew.
Once you're done scrubbing, rinse off any remaining solution and let your awning dry. Now, you're ready to apply the waterproofing solution.
Step 2: Spot Checking
Before you apply the rest of the waterproofing solution, you need to do a test to make sure that it won't cause discolouring in your fabric.
This is a crucial step to maintain the visual appeal of your awning, because certain coatings can contain solvents or silicone that will interact with the dye in your fabric and cause fading, darkening, or even colour changes.
So before applying the solution over your entire awning, test a small amount first on an area that isn't easily visible, such as at the corners.
Let it dry fully, and then if your fabric retains its colour with no signs of discolouration, then you can proceed to the next step — fully coating your awning.
Step 3: Applying The Waterproofing Solution
There are two kinds of awning waterproofing solution — spray-ons and brush-ons.
In most cases though, you should be using a spray-on waterproofing solution.
Brush-on solutions are typically reserved for heavy-duty canvas, tents, or tarps, which you'll usually see used in industrial applications. Brush-on solutions are thicker, take longer to dry, and can cause your fabric to stiffen up.
This is necessary for a more robust waterproofing layer, but there's simply no need for that kind of robustness for regular awnings.
Brush-on solutions are also harder to apply evenly and take longer to dry.
As such, it makes more sense to use spray-on solutions, which are easier to apply and will be more than enough to waterproof your awning.
So we’ll be focusing on only spray-ons on this step.
To spray on evenly, there isn’t too much to remember. Just keep these in mind and you’ll be good to go:
- Work in small sections of 0.8-1.2 m at a time so that your eyes will be able to keep track of what’s happening in that area, and you won’t miss out or spray too little on any spots.
- Hold the nozzle 15-20 cm from the awning fabric. This is a good distance so that your spray covers a wide enough area, but not too far that you lose accuracy and it starts to go everywhere.
- Use a steady, sweeping motion. This will ensure no one area gets too much or too little coverage. And don’t move too quickly or too slowly, or you’ll end up having thin coverage or spraying the solution too thickly onto one area. You’ll know you’re spraying too much or too slowly if it starts dripping or your fabric looks soaked. And you’ll know you’re going too fast if the surface doesn’t look damp and it looks like nothing was applied.
- Don’t go back and forth. The majority of waterproof coatings are meant to be applied in thin layers. You’re supposed to apply multiple thin layers, not one thick layer at once.
After you’ve sprayed on the first layer, let it dry completely first, which will usually take 1-3 hours. Your coating solution package should tell you how long roughly.
Once it’s dry, apply the next layer following the exact same technique as for the first layer. Repeat for all subsequent layers.
A general rule of thumb is to go for 3-4 layers, especially if it’s the first time you’re waterproofing your awning. For subsequent times, 1-2 coats will suffice in most cases.
Step 4: Test The Waterproofing
Finally, now that you've finished applying your waterproofing coating, it's time to put it to the test.
Ensure that it's completely dry, and then spray or pour some water over your awning. The water should very obviously bead up and then roll off, just like it would if you poured it on a non-porous surface like plastic.
If the water doesn't bead up and is absorbed instead, you'll need to apply another layer of the waterproof coating and then retest.
If water beads up but doesn't roll off, this means that the coating is either too thin or uneven, or it just hasn't fully cured yet.
Certain coatings may need up to a day or two to cure fully, so give it a day or two, and then perform the test again.
If water still doesn't roll off like it should, you'll need to apply another layer and then do the test again.
Once you see water bead up and roll off, that means you've successfully waterproofed your coating. Great job!
When Will You Need To Reapply The Waterproofing Coating?
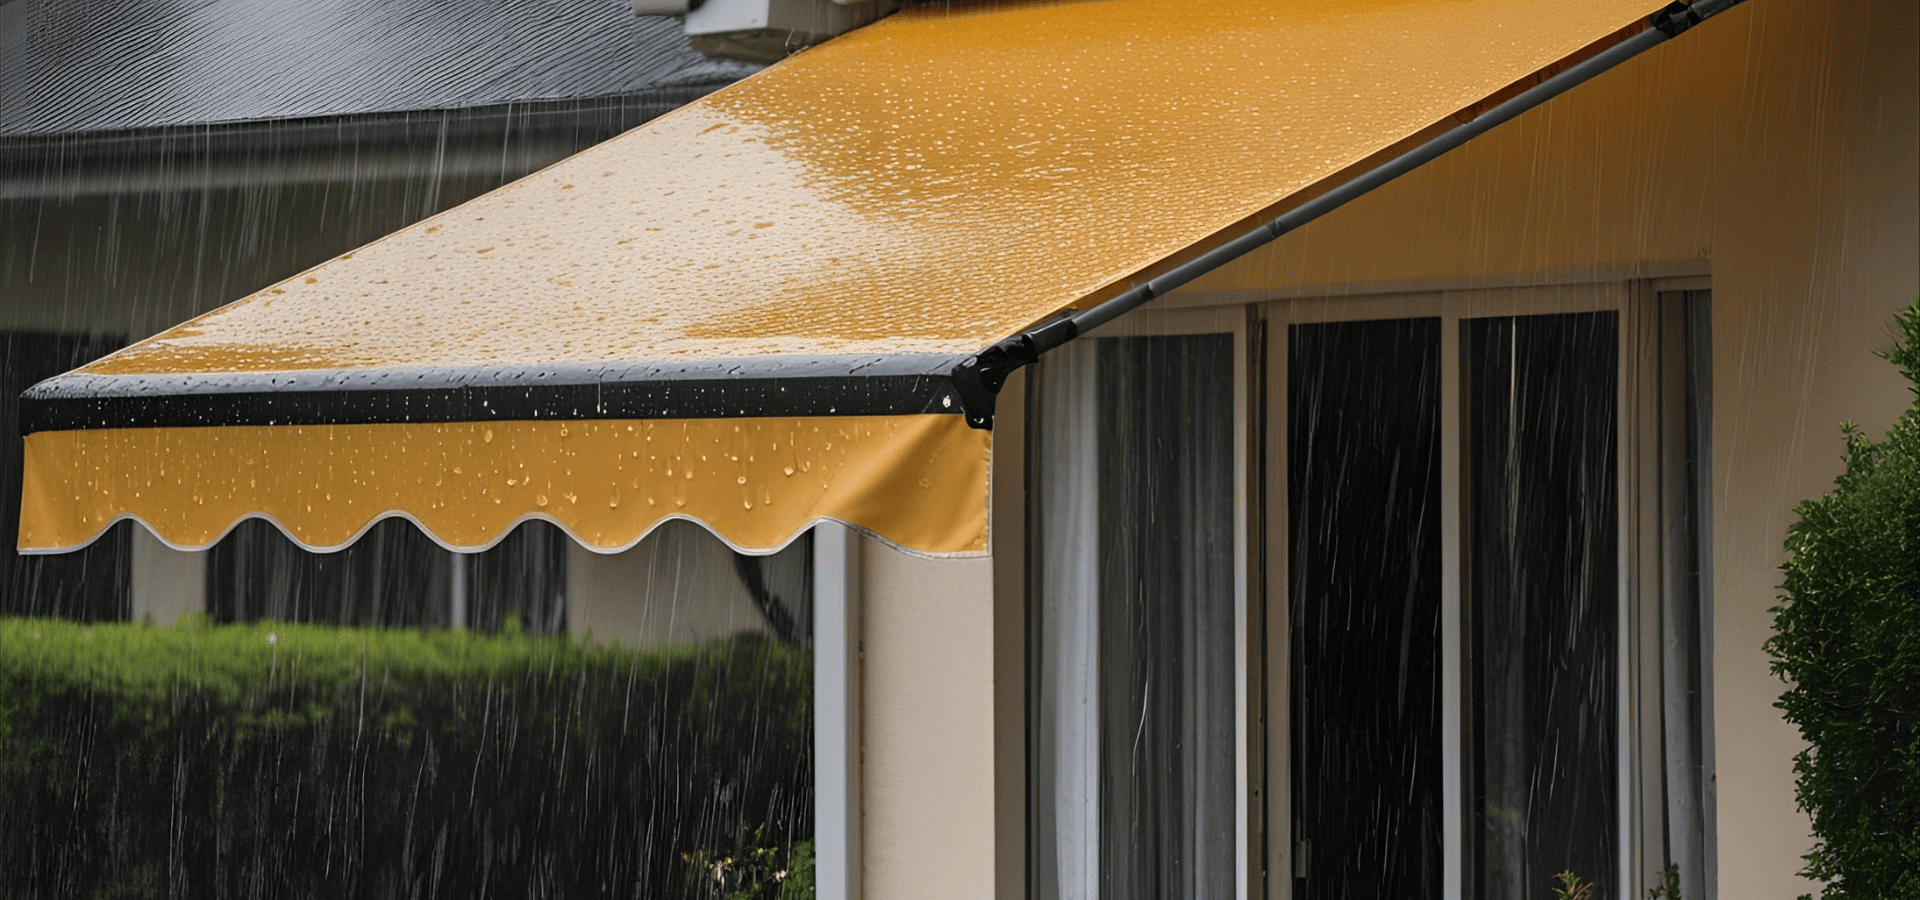
This is actually simpler than it sounds. There's no magical test or tool to test for waterproofing. As long as water no longer beads up and rolls off, it's time to reapply.
The key is to perform your checks. If you never check, you'll never know.
It may be a bit of a hassle, but all it takes to know whether your coating is still functional is to pour a bit of water onto the awning or check after rain.
Manufacturers will also usually provide a rough guideline on how often to reapply (typically every 6-12 months).
This is just a very rough estimate though, and will depend heavily on many factors like sunlight exposure, the intensity of the sun (which tends to be searing hot in Singapore), cleaning frequency, and so on.
At the end of the day, the most reliable way to determine whether recoating is needed is the water bead test.
Check every couple of months, and recoat as needed.
Conclusion
Waterproofing is actually a pretty simple and straightforward process, and it’ll extend the lifespan of your awning, as well as provide more reliable shelter.
Just because your awning is now waterproof doesn’t mean you should leave it out during rain unnecessarily though. Not only will that wear out the
awning coating quicker, but also put more strain on its supporting structure, and it’ll also wear out the fabric more quickly.
We’re not saying don’t use it when it rains if you need it, but there’s no sense in putting it through unnecessary stress.
And just one final thing before we wrap up, waterproofing isn’t too complicated, but if you’d still like to engage a professional to ensure it’s done right, don’t hesitate to reach out to
Uni Shades!
